Theme Setup
Configure the global settings of your Sellzar theme to match your brand identity.
Overview
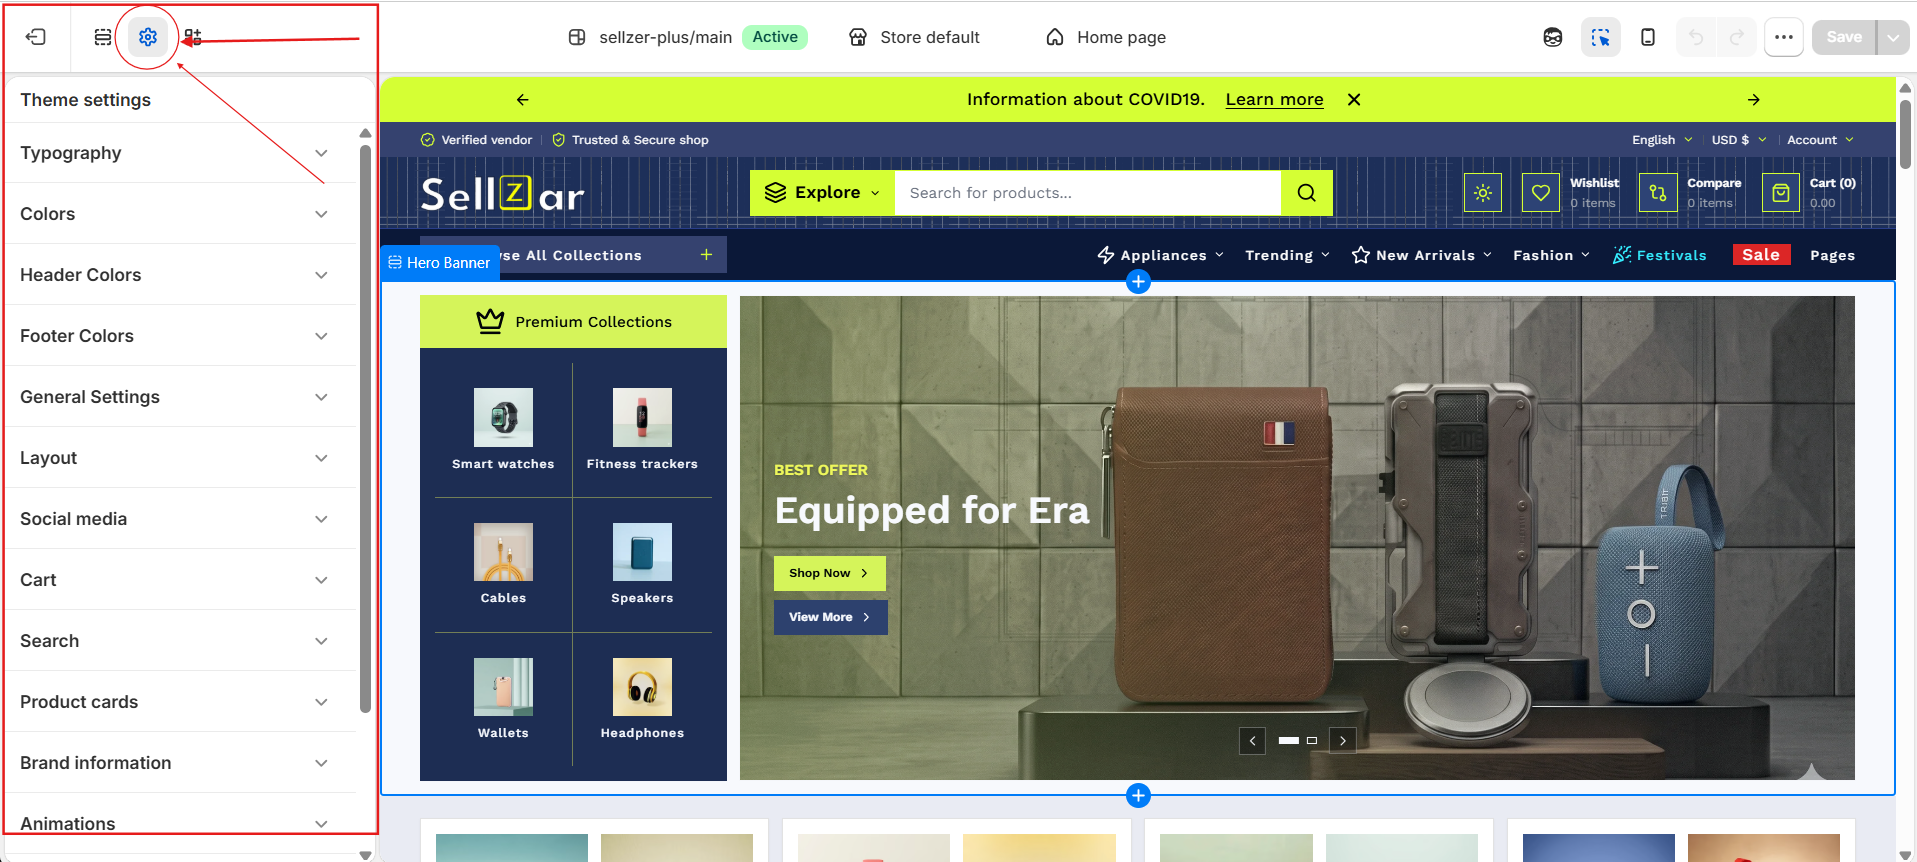
After installing Sellzar, the first step is to configure your global theme settings. These settings apply across your entire store and ensure visual consistency. To access these settings, go to Online Store > Themes > Customize and click the Theme settings (gear icon) in the left sidebar.
1. Typography
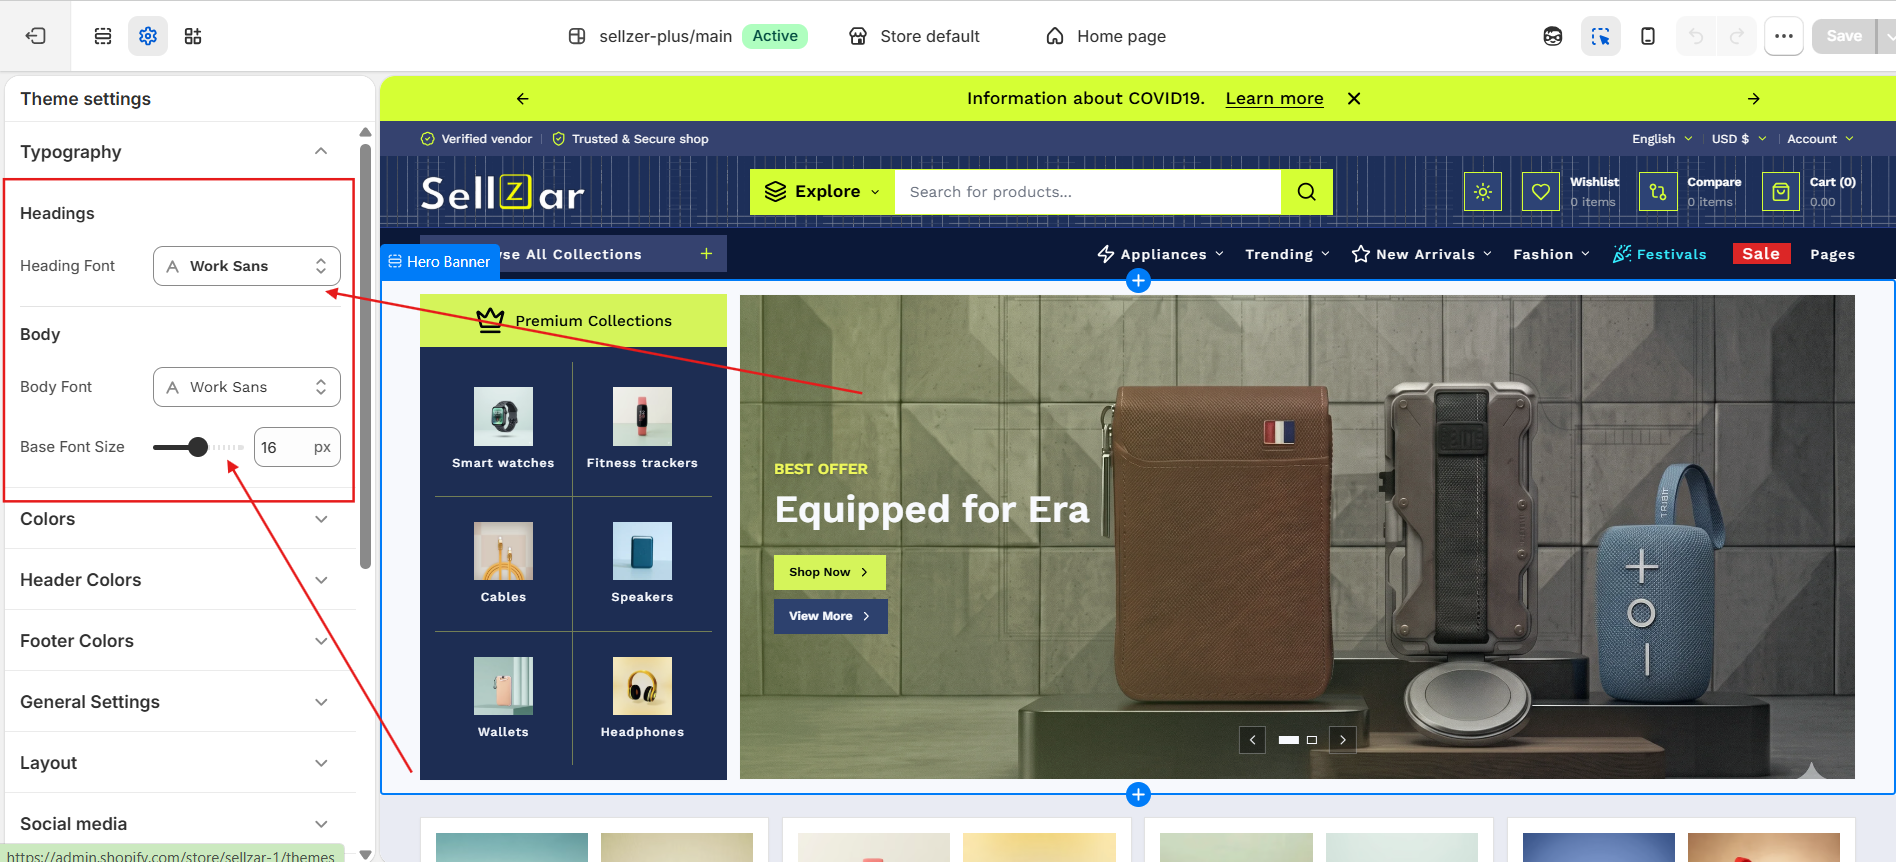
Sellzar allows you to choose specific fonts for headings and body text using Shopify's native font library.
Heading Font
Used for section headings, product titles, and hero text. Default: Work Sans (Bold).
Body Font
Used for descriptions, navigation links, and general text. Default: Work Sans (Regular).
Base Font Size
Adjust the global font size from 14px to 18px to optimize readability.
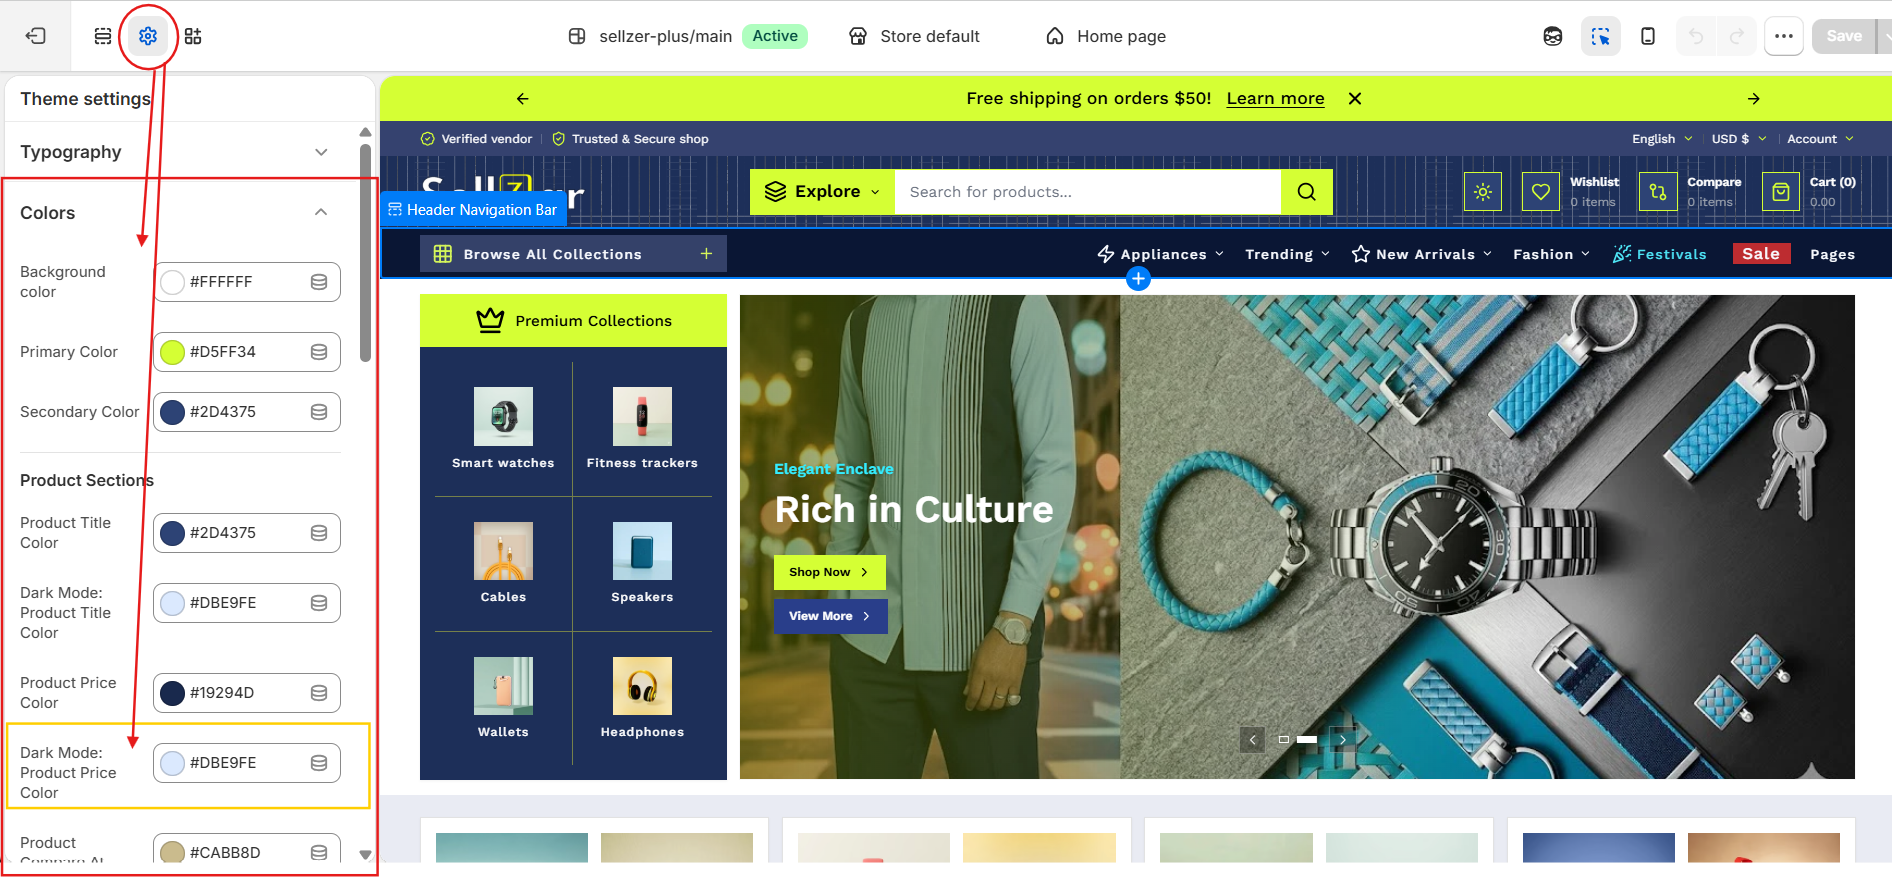
2. Global Colors
Define your brand's color palette. Sellzar includes intelligent color mapping for both Light and Dark modes.
Used for buttons, accents, and important highlights.
Used for background secondary elements and secondary buttons.
3. Layout & Width
Control the maximum width of your store content to ensure it looks great on ultra-wide monitors.
- Page Width: Adjustable from 1000px to 1600px.
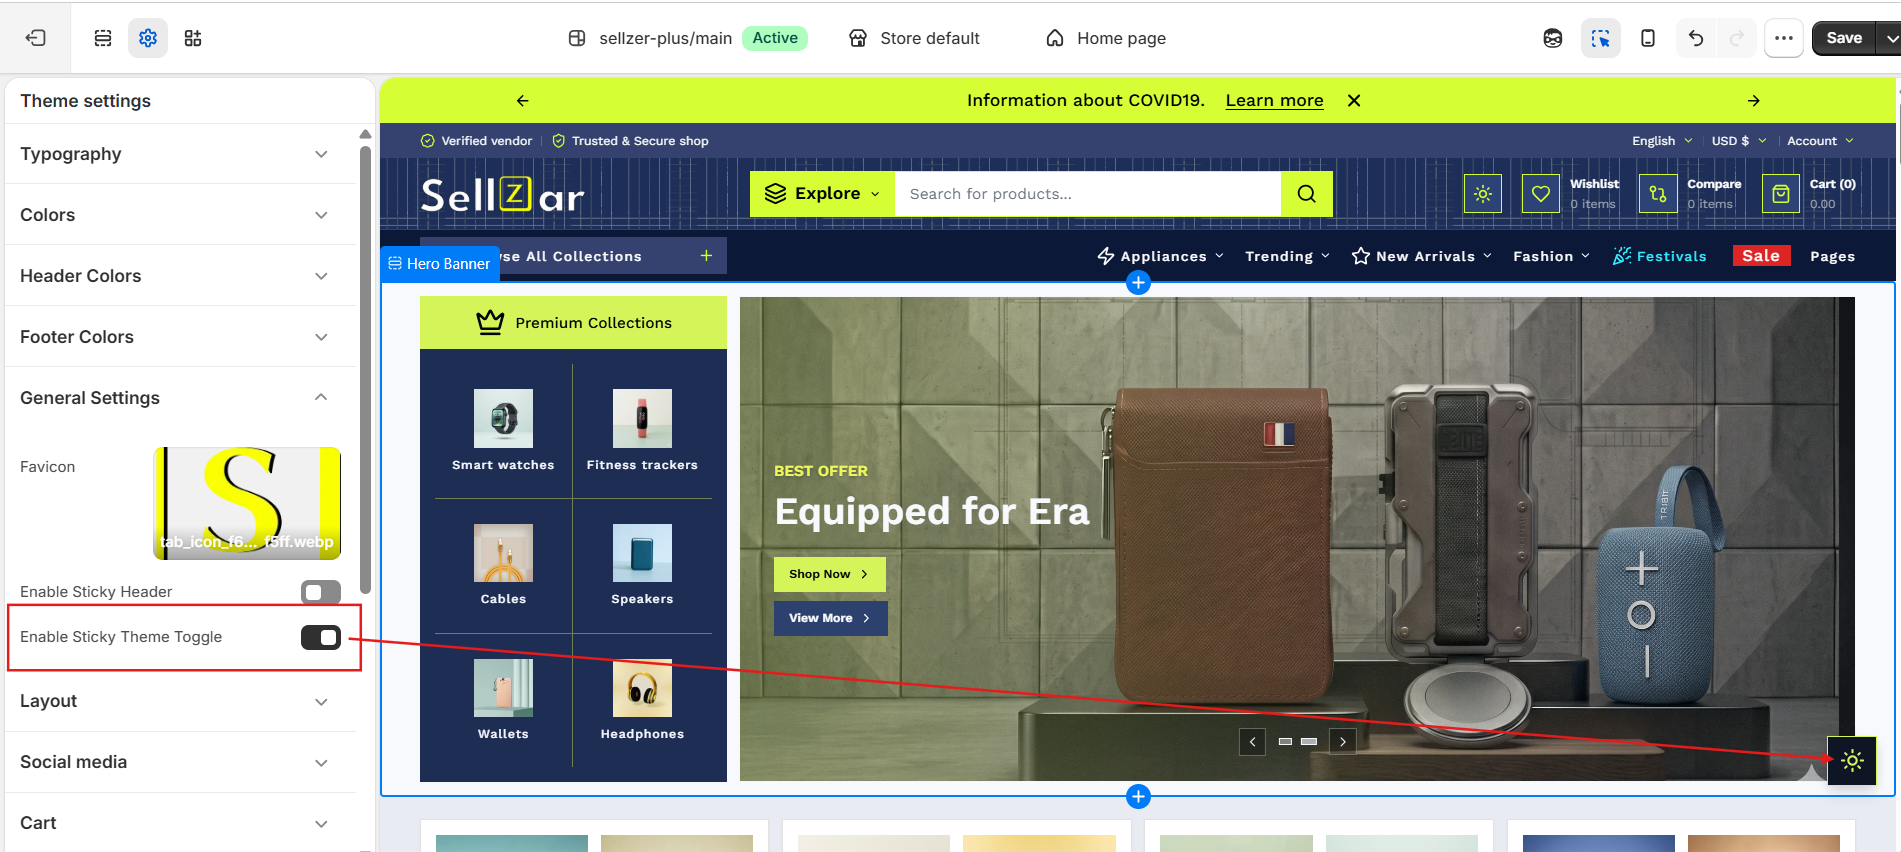
- Enable Sticky Header: Keep your navigation visible while scrolling.
- Enable Sticky Theme Toggle: Allow users to switch between Light/Dark mode at any time.
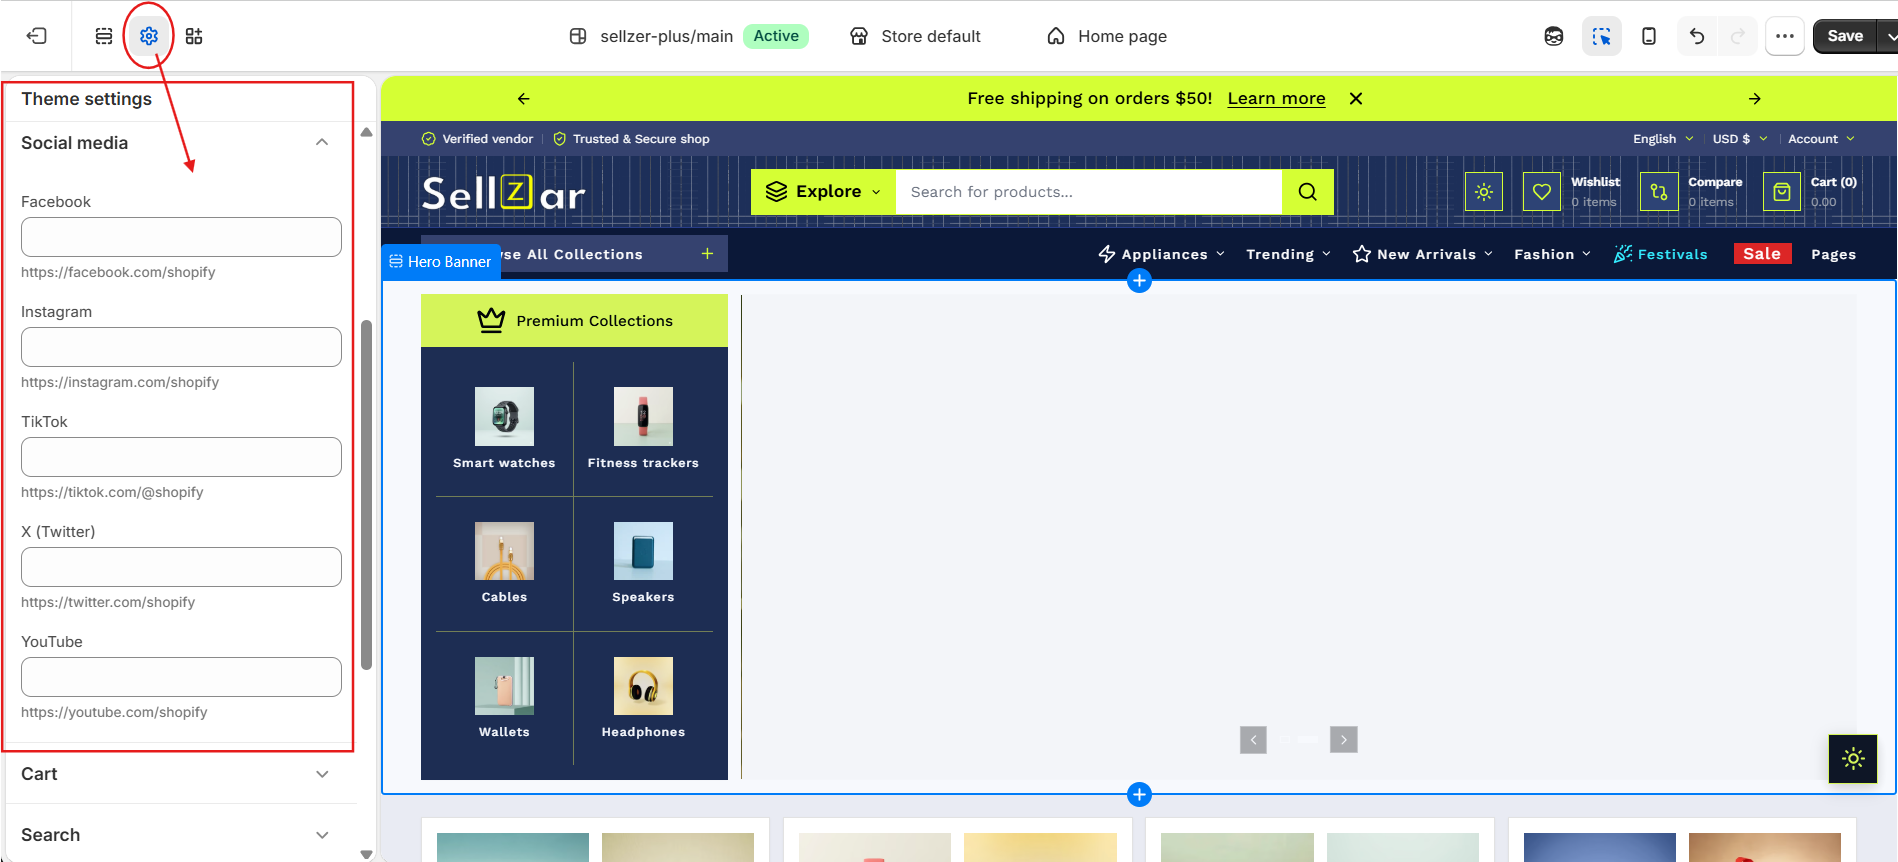
4. Social Media
Enter your social media profiles. These will automatically populate icons in the footer and newsletter popups.